
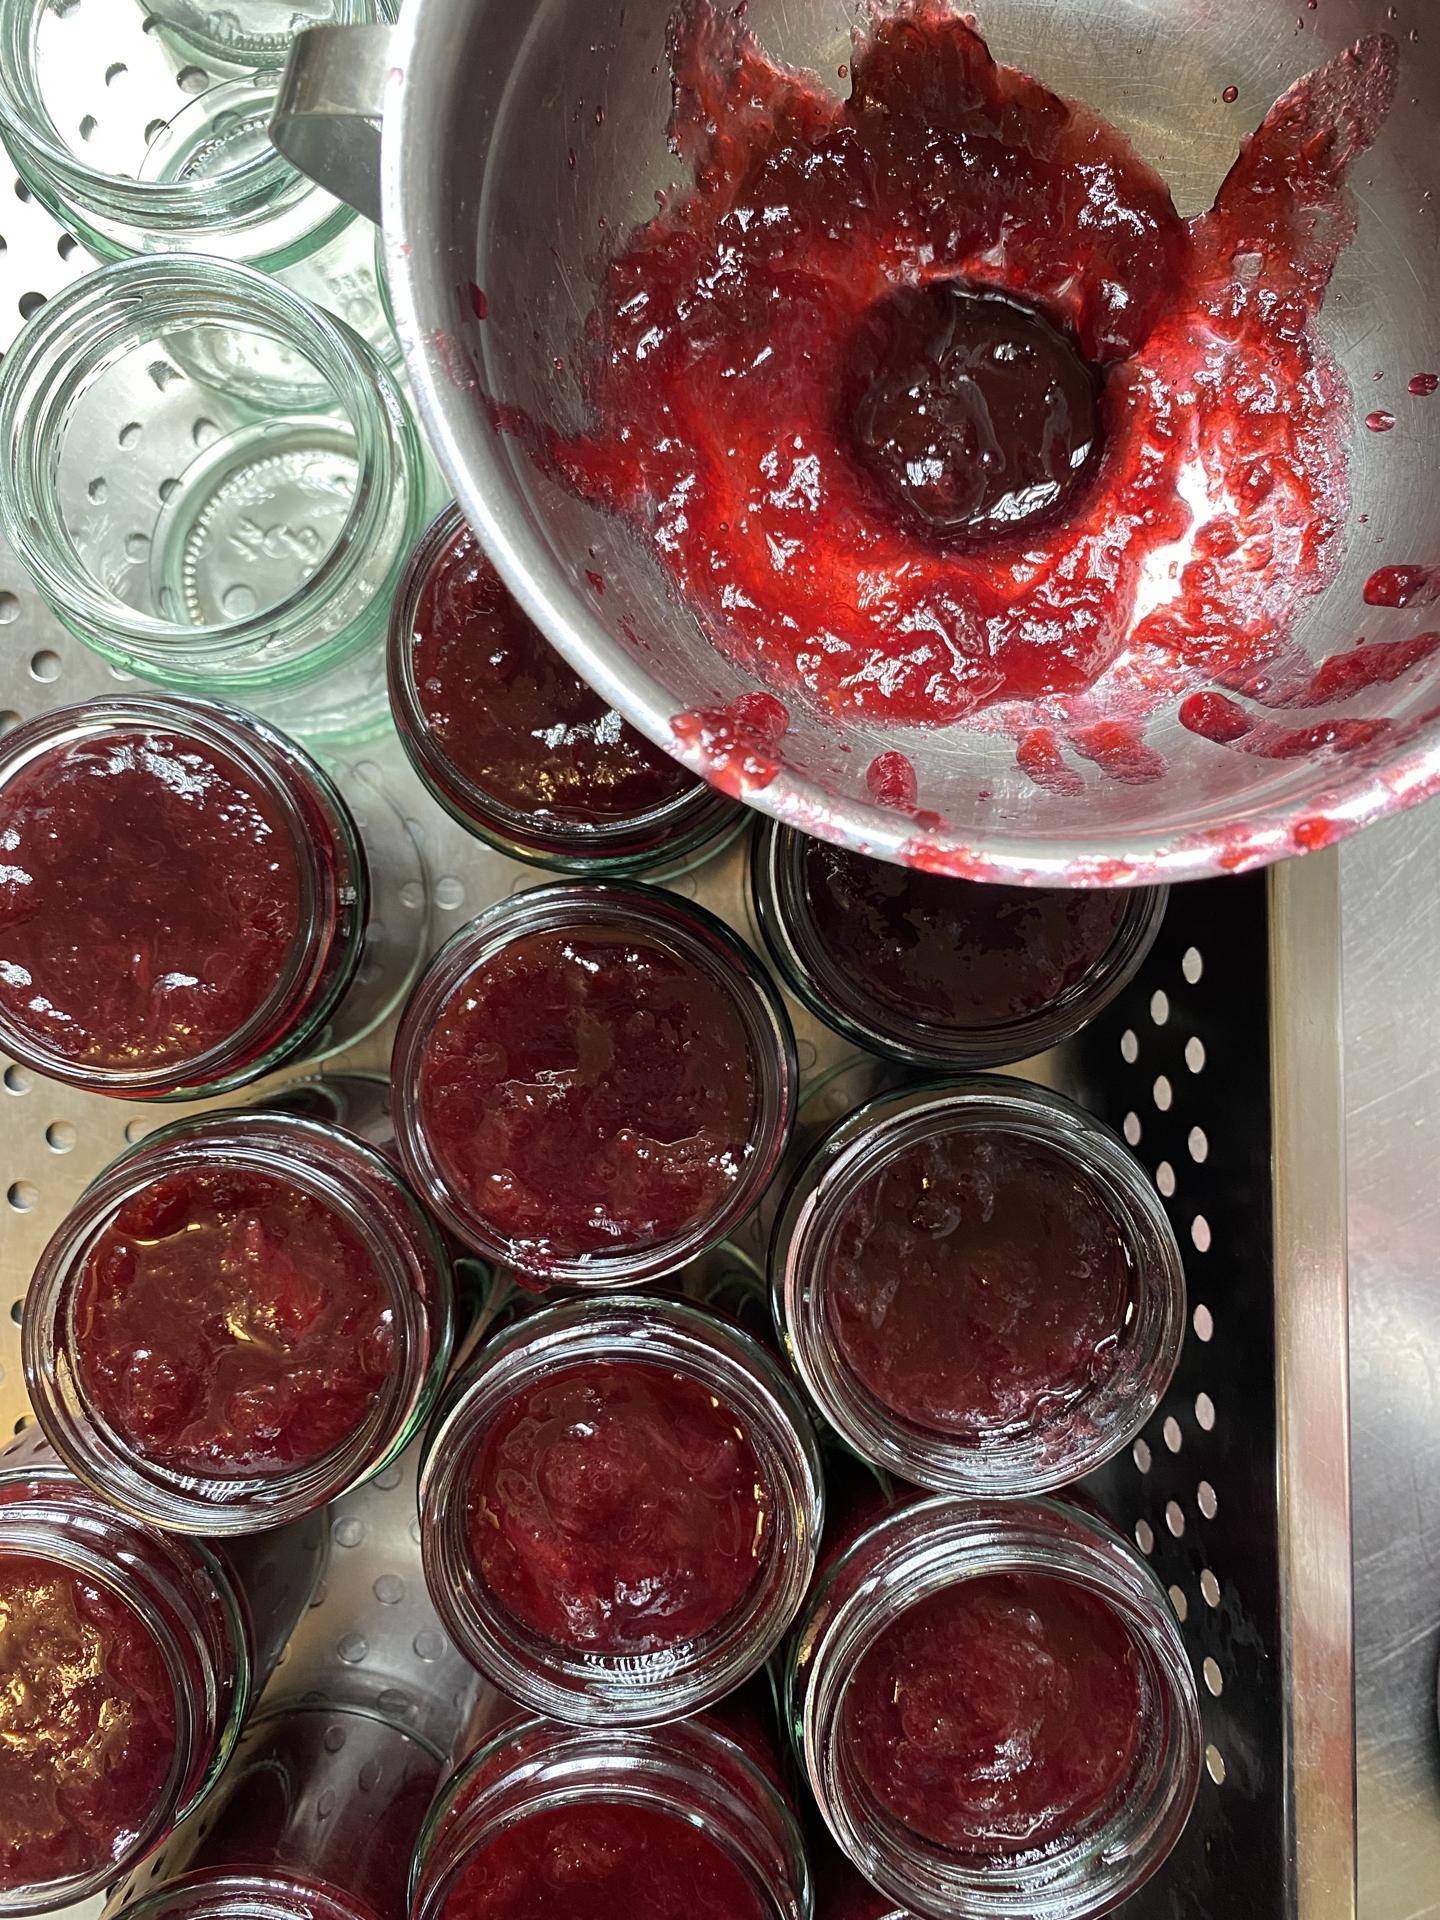
Cherry Jam
Homemade cherry jam is a real treat and tastes so much better than the store-bought version. I make a big batch every summer and squirrel it away for the year. This recipe is a smaller batch, good for new jam makers or for those with a kilo of cherries rather than a few boxes! You will need to pit your cherries, so if you don’t have a cherry pitter, put on a podcast and get in the zone. This recipe makes about 3-4 x 250ml jars. Halve it or double it with ease!
Price range: €7.00 through €39.16
Step 1
Wash the cherries well, remove the stems, and pit them. (you can save the cherry pips to make my cherry pit and chilli vinegar). Chop the cherries into smaller pieces, if you’d like a chunkier jam leave some whole.
Step 2
In a large wide saucepan, add the cherries, lemon juice, and lemon zest. Add a 1/2 cup of water and simmer over low heat for 7-10minutes until the cherries are tender.
Step 3
Add the sugar and gently boil over medium heat for about 30 minutes until the jam darkens and thickens. It will look rich and glossy when it’s ready.
Step 4
You can test the jam’s consistency by placing a good spoonful on a cold plate. Allow to cool on the plate for a minute or so. If it wrinkles and holds its shape, it’s ready. If it’s still too runny, continue to cook for a few more minutes. Keep testing until the jam is ready. Once ready stir through the vanilla or brandy if using.
Step 5
Pour the jam into clean jars, seal, allow to cool and then store in the fridge for up to 2 months.
Step 6
If you’re making a bigger batch and want to sterilise jars and heat seal jars for longer storage, read the author’s tips below.
Related products
-
![Immune Boosting Chicken Soup]()
Immune Boosting Chicken Soup
Price range: €3.45 through €41.24 -

![Vegetable and Barley Soup with Sauerkraut]()
Vegetable and Barley Soup with Sauerkraut
Price range: €2.00 through €257.00 -
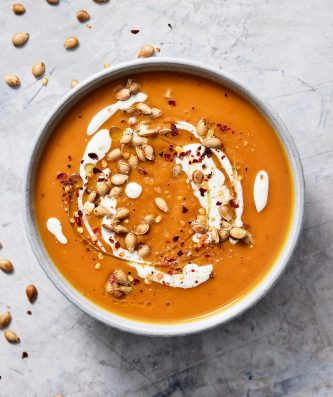
![High Fibre Pumpkin Soup]()
High Fibre Pumpkin Soup
Price range: €2.49 through €67.16 -

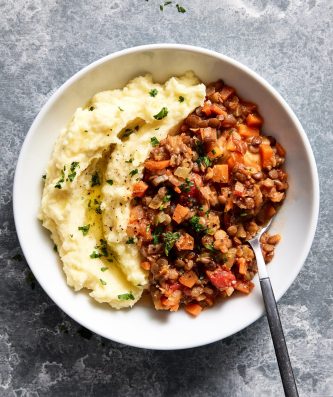
![Simple Lentil Stew]()
Simple Lentil Stew
Price range: €2.49 through €67.16 -

![Roasted Tomato Soup with Garlic Toast]()
Roasted Tomato Soup with Garlic Toast
Price range: €5.00 through €72.00 -
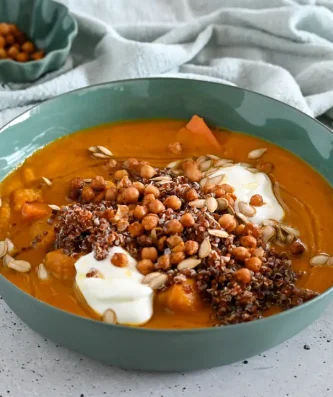
![Pumpkin Soup with Crunchy Chilli Pumpkin Seeds]()
Pumpkin Soup with Crunchy Chilli Pumpkin Seeds
Price range: €2.49 through €67.16 -

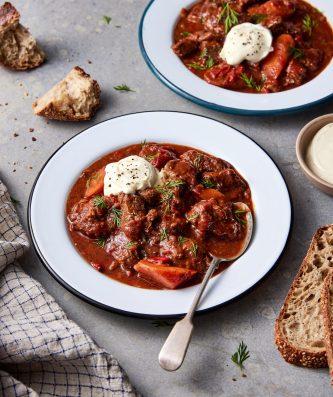
![Beef Stew]()
Beef Stew
Price range: €3.49 through €67.16 -
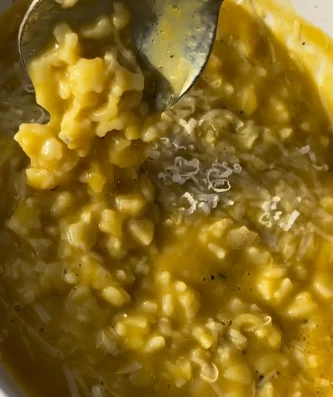
![Italian Brodo]()
Italian Brodo
Price range: €3.49 through €21.00 -
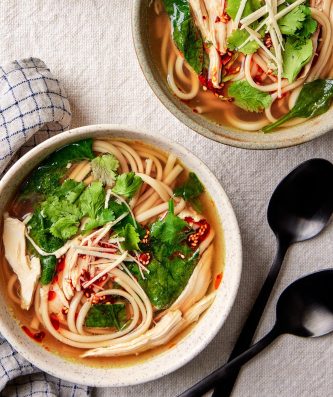
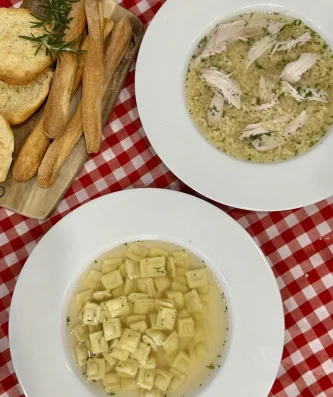
![Italian Penicillin ❤️🔥]()
Italian Penicillin ❤️🔥
Price range: €2.49 through €21.00 -
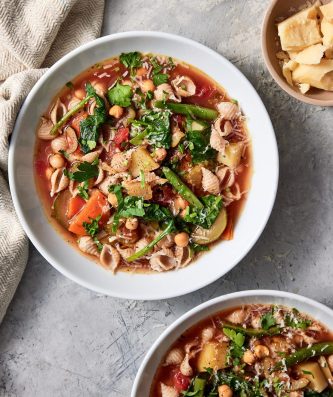
![Simple Minestrone Soup]()
Simple Minestrone Soup
Price range: €1.72 through €30.00 -
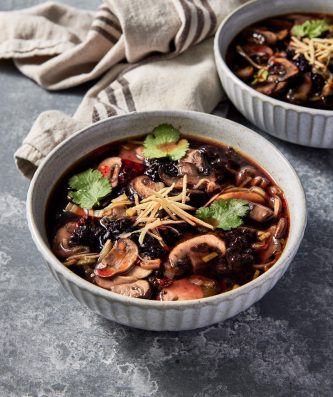
![Mushroom and Wild Rice Soup]()
Mushroom and Wild Rice Soup
Price range: €3.00 through €67.16 -
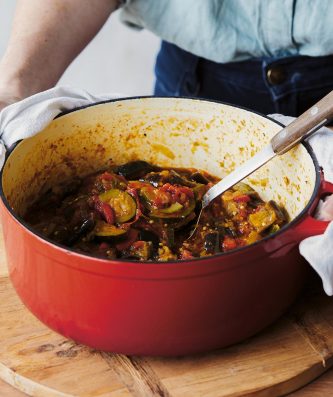
![Ratatouille]()
Ratatouille
Price range: €1.59 through €67.16


 No products in the cart.